Introduction to Old-Fashioned Apple Crisp
There’s something inherently nostalgic about old-fashioned apple crisp that resonates with many of us. Perhaps it’s the intoxicating aroma of baked cinnamon apples wafting through the kitchen or the satisfying crunch of a perfectly baked topping. Whatever it is, this dessert has earned its place as a timeless classic.
Why is Old-Fashioned Apple Crisp a Classic Favorite?
At its core, old-fashioned apple crisp is a simple yet delightful dessert that celebrates the beauty of fresh apples. This dish is not only delicious but also embodies the comfort of home, making it a popular choice for gatherings, family dinners, and cozy nights in. According to the USDA, apples are the second most popular fruit in the United States, and their versatility shines in this classic recipe.
The beauty of apple crisp lies in its adaptability. You can choose from various apple varieties—Granny Smith for tartness, Honeycrisp for sweetness, or even a mix for a more complex flavor. The magic happens when you combine these juicy fruits with a crunchy topping made from oats, flour, butter, and brown sugar. It’s a delightful contrast of textures that keeps you coming back for more.
But this dessert goes beyond just taste. It also holds sentimental value for many. Picture grandparents baking in their kitchens, teaching the younger generation their secret recipes—and that can foster a lasting love for old-fashioned apple crisp. If you’re looking to impress at your next potluck, this dish will certainly evoke fond memories and spark conversations about favorite family recipes.
Moreover, if health-conscious choices are on your mind, consider using alternatives like coconut oil for a bit of a twist or even switching the sugar for honey or maple syrup. For some expert tips, check out the American Journal of Clinical Nutrition for insights on how to make healthier dessert options without sacrificing flavor.
Embracing the joy of cooking this classic recipe not only gives you a delicious treat but also creates moments of connection—with friends, family, and even your inner chef!
Ingredients for Old-Fashioned Apple Crisp
Creating the perfect old-fashioned apple crisp involves a delightful combination of fresh ingredients that work together harmoniously. Here’s what you’ll need to whip up this comforting dessert:
- Apples: About 6 to 8 medium-sized apples, preferably Granny Smith or Honeycrisp for a good balance of sweet and tart flavors.
- Brown Sugar: 3/4 cup to add that rich sweetness and depth. You can even substitute with coconut sugar for a more natural option.
- Oats: 1 cup of rolled oats brings texture and heartiness, making every bite satisfying.
- Cinnamon: 1 teaspoon to spice things up with its warm aroma—who doesn’t love that classic pairing with apples?
- Butter: 1/2 cup of unsalted butter, melted, for a gooey, rich topping. You can use coconut oil for a vegan alternative.
- All-purpose Flour: 1/2 cup, which adds that necessary structure to the topping.
- Salt: A pinch to balance out the sweetness.
With these ingredients, you’re well on your way to mastering this old-fashioned apple crisp that is sure to impress your friends and family. For more tips on selecting the perfect apples, check out The Old Farmer’s Almanac. Happy baking!
Preparing Old-Fashioned Apple Crisp
Nothing says comfort food like a warm, gooey serving of old-fashioned apple crisp. This delectable dessert, with its tender fruit and crunchy topping, has a way of making any day feel special. So, let’s dive into the delightful process of creating this timeless treat that’s perfect for sharing (or not!).
Gather Your Ingredients
Before we jump into the cooking process, it’s essential to have everything you need on hand. Gather the following ingredients for your old-fashioned apple crisp:
-
For the apple filling:
-
6 cups of sliced and peeled apples (Granny Smith and Honeycrisp work beautifully)
-
1/2 cup of granulated sugar
-
1 tablespoon of lemon juice
-
1 teaspoon of ground cinnamon
-
1/4 teaspoon of nutmeg (optional)
-
For the crumb topping:
-
1 cup of all-purpose flour
-
1 cup of rolled oats
-
1/2 cup of brown sugar
-
1/2 teaspoon of baking powder
-
1/4 teaspoon of salt
-
1/2 cup of cold unsalted butter, cubed
Having everything prepped allows you to enjoy the cooking process without interruptions. Plus, you can choose your favorite apples to achieve that perfect balance of tart and sweet.
Prepare the Apple Filling
Start by preheating your oven to 350°F (175°C). While the oven warms up, it’s time to prepare the apple filling:
- In a large bowl, combine the sliced apples with sugar, lemon juice, cinnamon, and nutmeg.
- Toss everything gently until the apples are well-coated. This mixture will not only add flavor but also help to lightly caramelize during baking.
As an alternative to traditional sugar, feel free to explore options like coconut sugar or honey for a healthier twist. For more on the nutritional benefits of apples, check out this Nutritional Guide from Harvard.
Make the Crumb Topping
The crumb topping is what truly brings this dish together. It should be crispy, buttery, and a little sweet. Here’s how to whip it up:
- In a separate bowl, combine the flour, rolled oats, brown sugar, baking powder, and salt.
- Cut in the cold butter using a pastry cutter or your fingers until the mixture resembles coarse crumbs. It’s totally okay for some larger clumps to form—those bits get extra crunchy!
If you want to kick it up a notch, consider adding in some chopped nuts or a sprinkle of chocolate chips to the topping.
Assemble the Dish
Once your apple mixture and crumb topping are ready, it’s time to layer them beautifully:
- Pour the apple filling into a greased 9×13-inch baking dish.
- Evenly distribute the crumb topping over the apples, making sure to cover the filling completely.
The anticipation is real here! You can already smell the magic happening.
Bake to Perfection
Now, slide that baking dish into your preheated oven and let it work its magic. Bake for about 40-45 minutes, or until the topping is golden brown and the apples are bubbling. A quick tip: If the topping begins to brown too quickly, feel free to cover it loosely with foil for the remaining bake time.
Once it’s out of the oven, allow it to cool slightly before serving. Drizzle a little caramel sauce on top or add a scoop of vanilla ice cream for that classic combo.
This old-fashioned apple crisp isn’t just a dessert; it’s an experience, a hug in a dish. So, whether you’re hosting friends or just indulging in a sweet night in, this recipe is sure to impress. Enjoy!

Variations on Old-Fashioned Apple Crisp
Apple crisp is a delightful classic, but why not shake things up a bit? With just a few clever tweaks, you can create a unique take on old-fashioned apple crisp that satisfies any dessert lover’s cravings.
Add-ins for Flavor Enhancement
Mixing in some additional flavor-packed ingredients can elevate your old-fashioned apple crisp to new heights. Consider adding:
- Nuts: Chopped pecans or walnuts lend a nice crunch and nutty flavor.
- Dried Fruits: Raisins or cranberries add a chewy texture and a burst of sweetness.
- Spices: Cinnamon is a must, but don’t hesitate to experiment with nutmeg, ginger, or even allspice.
- Zest: A touch of lemon or orange zest can brighten up the flavor profile.
These little extras can introduce unexpected flavors and textures, making your crisp feel even more special. For some inspiration, you can check out these creative twists on classic apple desserts here.
Different Topping Options
The beauty of an old-fashioned apple crisp lies not just in the filling, but also in the topping. While the classic crumb topping is superb, why not explore other options?
- Oatmeal Crumble: For a heartier, chewier topping, use oats mixed with brown sugar and butter.
- Coconut Topping: Incorporate shredded coconut for a tropical touch.
- Granola Crunch: Top with your favorite granola for an added crunch and nutritional boost.
Updating your topping makes your old-fashioned apple crisp not only delicious but also a great conversation starter. Who doesn’t love a twist on a beloved favorite?
By experimenting with these variations, you’ll find that your old-fashioned apple crisp can be anything but ordinary. Happy baking!
Cooking Tips and Notes for Old-Fashioned Apple Crisp
Preparing an old-fashioned apple crisp is as simple as it is rewarding! Here are some friendly tips to elevate your dish:
Selecting the Right Apples
- Go for a Mix: Using a combination of sweet and tart apples creates a deliciously balanced flavor. Granny Smith and Honeycrisp are an excellent pair.
- Freshness Matters: Fresh apples, ideally from a local orchard, will provide the best taste and texture. Check out local farmer markets for seasonal options.
Perfecting the Topping
- Texture is Key: Aim for a crumbly topping by cutting the butter into the dry ingredients just until combined. You want a sandy texture that clumps together nicely!
- Add Some Nuts: For an added crunch, consider adding chopped nuts like walnuts or pecans to the topping.
Bake and Enjoy
- Don’t Rush the Bake: Make sure to let your apple crisp cool for at least 15 minutes after baking. This helps to set the filling, making each serving easier to scoop.
By keeping these pointers in mind, your old-fashioned apple crisp will be the star of every gathering! For more inspiration, check out this guide for choosing the best baking apples.
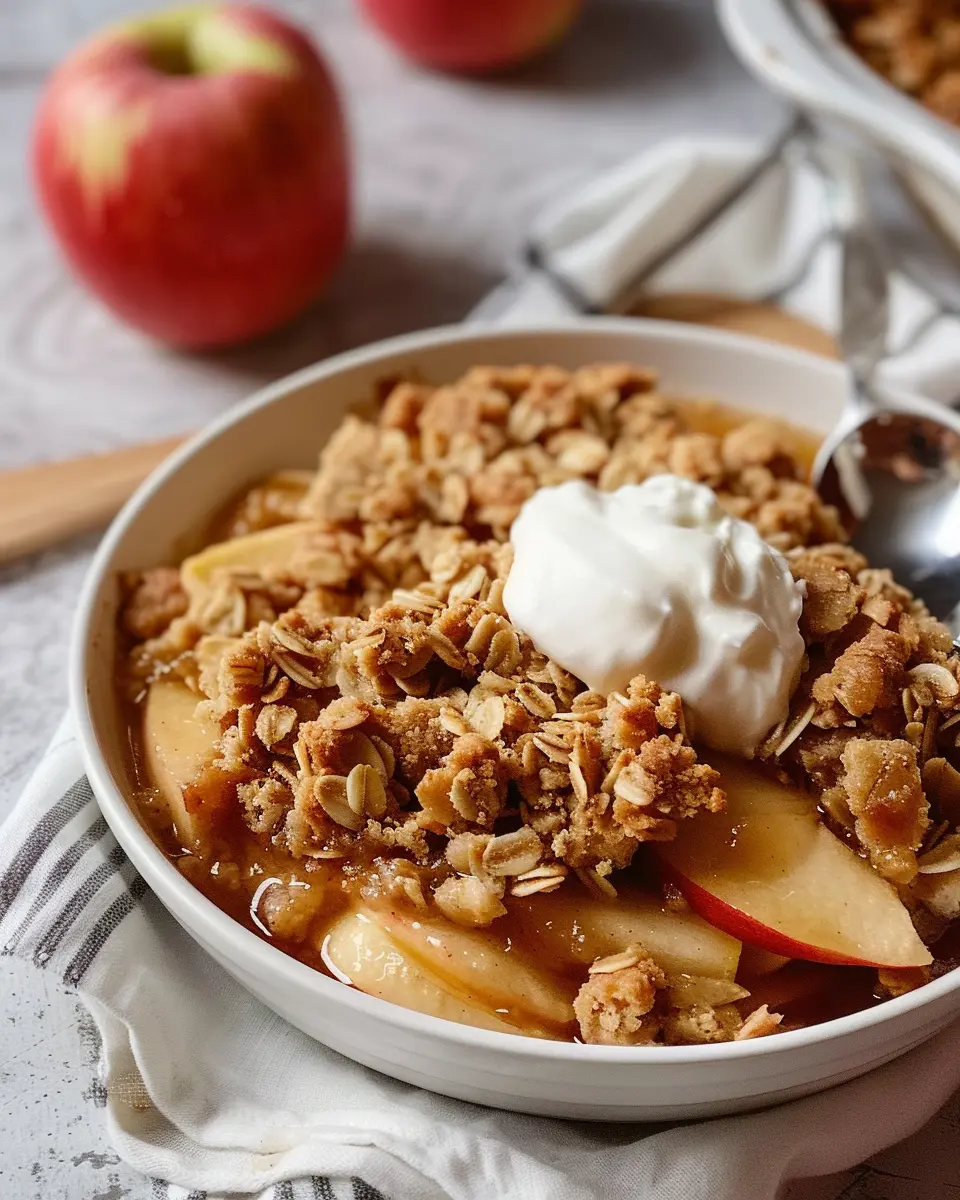
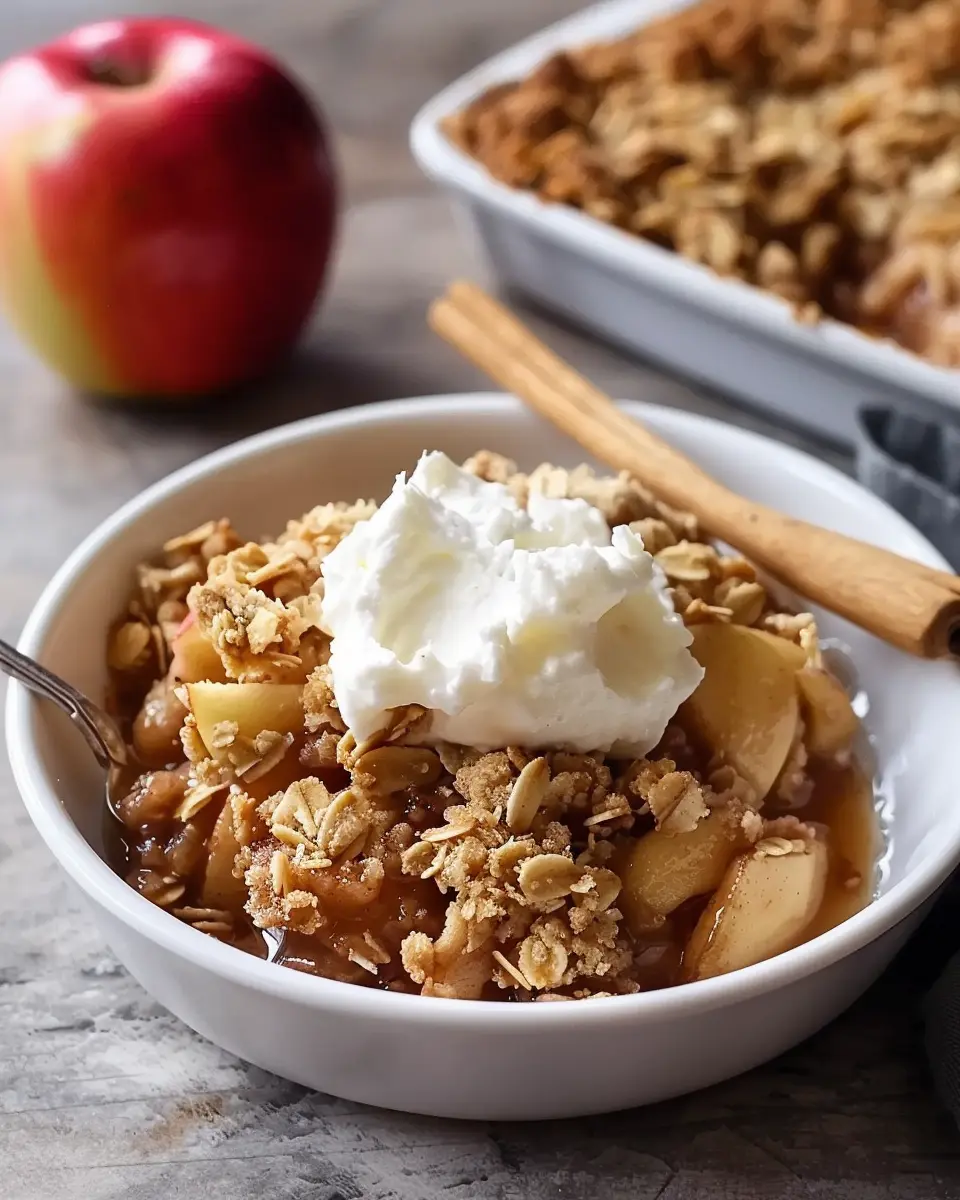
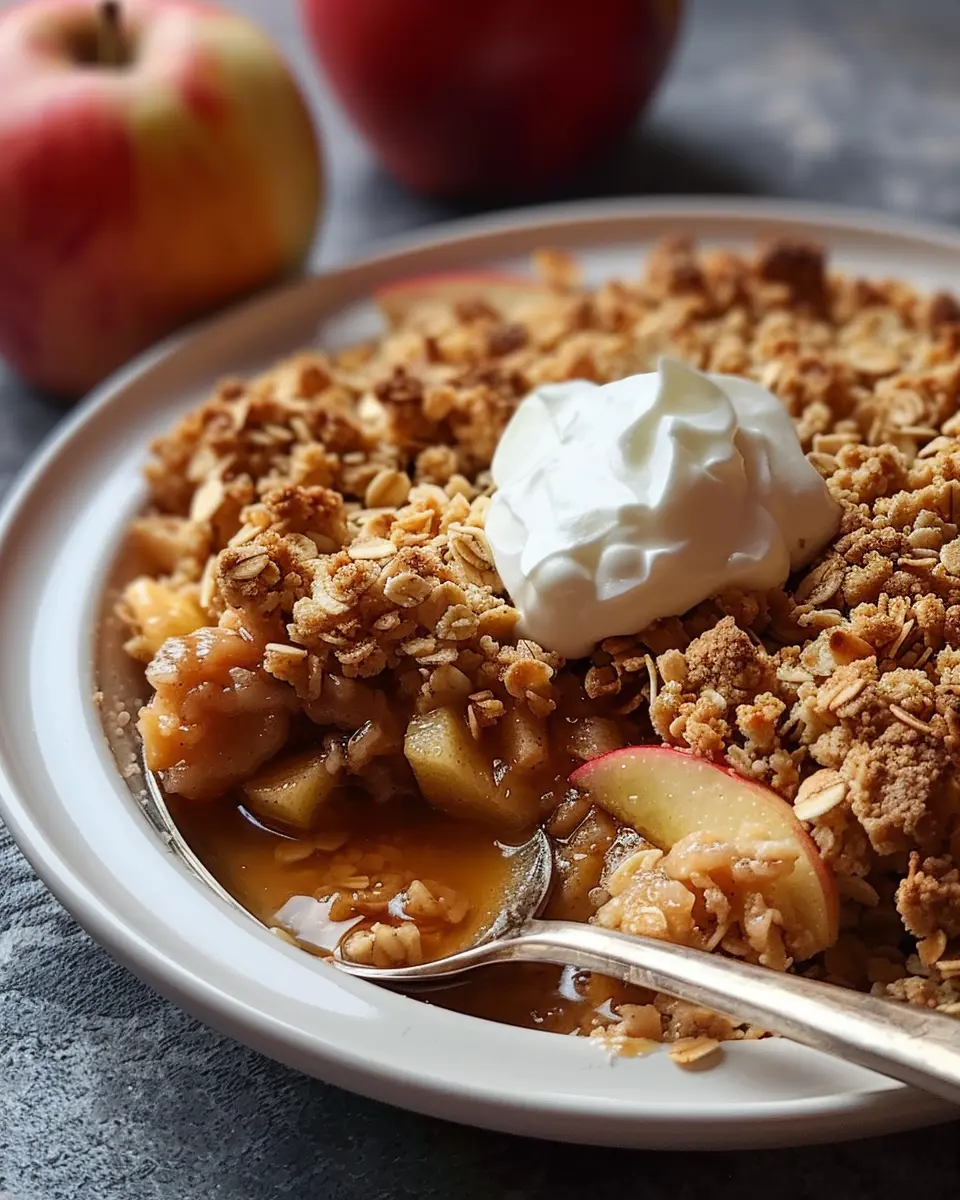
Serving Suggestions for Old-Fashioned Apple Crisp
When it comes to enjoying your old-fashioned apple crisp, the possibilities for serving it are nearly endless! Here are some delightful ideas to elevate this classic dessert.
Pair with Ice Cream
One of the best ways to enjoy your apple crisp is with a scoop of vanilla ice cream. The warm, spiced flavors of the crisp beautifully contrast with the cold, creamy texture of the ice cream. If you’re adventurous, try experimenting with flavors like caramel or cinnamon!
Add a Drizzle
A simple drizzle of caramel sauce or heavy cream over the top can take your dessert to a whole new level. It adds a touch of sweetness that enhances the apples’ natural flavors.
Fresh Fruit
To balance the rich flavors, serve your apple crisp alongside slices of fresh fruit, such as pears or berries. Not only do they add color to your plate, but they also bring a refreshing tartness that complements the dish.
Drinks That Pair Well
For a refreshing beverage option, why not try serving it alongside fizzy apple cider or a warm chai tea? These drinks harmonize beautifully with the spice notes of your crisp while keeping your taste buds delighted!
With these serving suggestions, your old-fashioned apple crisp will not only be a hit at the dinner table but also create a truly memorable experience for you and your guests.
Time Breakdown for Old-Fashioned Apple Crisp
Preparation Time
Gather your ingredients and preheat your oven—this part takes about 15-20 minutes. Make sure to slice those crisp apples and mix up that delightful topping! It’s a treat in itself.
Baking Time
Once you’ve combined your ingredients, let your old-fashioned apple crisp bake for 30-35 minutes. You want that golden-brown topping to bubble up, filling your kitchen with a warm, inviting aroma.
Total Time
All in all, you can whip up this comforting dessert in just about an hour, leaving you plenty of time to enjoy it with family or friends. Ready to indulge in some homemade goodness? Visit The Spruce Eats for more delicious apple tips!
Nutritional Facts for Old-Fashioned Apple Crisp
Understanding the nutritional profile of your favorite desserts can help you make mindful choices while still enjoying delicious treats like old-fashioned apple crisp. Let’s break down the numbers!
Calories
A typical serving of old-fashioned apple crisp contains around 250-300 calories. This is a delightful way to indulge your sweet tooth without completely derailing your dietary goals.
Fiber
One of the benefits of apple crisp is its fiber content. One serving offers about 3-4 grams of dietary fiber, thanks to the apples and oats. Fiber is essential for digestive health and can help keep you feeling full longer, making it a smart addition to your dessert lineup.
Sugar
While old-fashioned apple crisp is certainly sweet, it usually contains about 15-20 grams of sugar per serving, primarily from the apples and added sugar. You can control this by using less sugar or opting for natural sweeteners if you’re looking to reduce sugar intake.
For more insights on healthy eating, consider checking out resources like the American Heart Association for more information on balanced diets and mindful meal choices. Enjoy your homemade creations guilt-free with this knowledge in hand!
FAQ about Old-Fashioned Apple Crisp
Can I use different types of apples?
Absolutely! The beauty of old-fashioned apple crisp lies in its versatility. While classic choices like Granny Smith and Honeycrisp are popular for their tartness and crisp texture, feel free to mix and match. Sweet apples such as Fuji or Gala can bring a delightful twist. Just keep in mind that using a combination of sweet and tart apples can elevate the flavor balance, providing a deliciously complex profile. If you’re curious about apple varieties, check out resources like the USDA’s apple variety guide.
How do I store leftovers?
If you find yourself with leftover old-fashioned apple crisp (which is a compliment to your cooking skills!), it’s super easy to store. Let it cool completely, then place it in an airtight container. You can store it in the fridge for up to three days. For longer storage, consider freezing it. Just be sure to wrap it well in plastic wrap or aluminum foil, and it should keep in the freezer for about 2-3 months. When you’re ready to enjoy it again, simply reheat it in the oven or microwave, and you’ll be back to that comforting aroma in no time!
Can I make it ahead of time?
Yes, making old-fashioned apple crisp ahead of time is a fantastic idea, especially for gatherings! You can prepare your apple filling and crumble topping separately, refrigerating them until you’re ready to bake. This way, you can have a fresh dessert without the last-minute hassle. Alternatively, you can assemble it fully and store it in the fridge for a day. Just add an extra few minutes to the baking time if you’re using it straight from the fridge. Enjoy this delectable treat hassle-free!
For more helpful tips and delicious variations, check out The Spruce Eats and get inspired!
Conclusion on Old-Fashioned Apple Crisp
In wrapping up our delightful journey into the world of old-fashioned apple crisp, I hope you’re feeling inspired to create this comforting dessert at home. Packed with warm, spiced apples and a crunchy topping, it’s a dish that never goes out of style. Perfect for cozy nights in or for impressing guests, apple crisp offers something for everyone.
Don’t hesitate to play around with ingredients—try adding nuts for extra crunch or swapping in maple syrup for a unique sweetness. For more ideas and variations, look into resources like Serious Eats or Epicurious. Happy baking!
PrintOld-Fashioned Apple Crisp: The Best Cozy Dessert Recipe
Indulge in the comforting flavors of an old-fashioned apple crisp, perfect for cozy evenings.
- Prep Time: 20 minutes
- Cook Time: 40 minutes
- Total Time: 1 hour
- Yield: 8 servings
- Category: Dessert
- Method: Baking
- Cuisine: American
- Diet: Vegetarian
Ingredients
- 6 medium apples
- 1 cup brown sugar
- 1 cup rolled oats
- 1 cup all-purpose flour
- 1 tsp ground cinnamon
- 1/2 cup unsalted butter, softened
Instructions
- Preheat the oven to 350°F (175°C).
- Peel, core, and slice the apples.
- In a bowl, mix apples with brown sugar and cinnamon, then place in a baking dish.
- In another bowl, combine oats, flour, and butter to form a crumbly mixture.
- Spread the oat mixture evenly over the apples.
- Bake for 30-40 minutes until golden brown.
Notes
- Serve warm with vanilla ice cream.
- Can be made ahead and stored in the refrigerator.
Nutrition
- Serving Size: 1 serving
- Calories: 250
- Sugar: 18g
- Sodium: 200mg
- Fat: 10g
- Saturated Fat: 6g
- Unsaturated Fat: 4g
- Trans Fat: 0g
- Carbohydrates: 38g
- Fiber: 3g
- Protein: 3g
- Cholesterol: 20mg