Introduction to Christmas Cherry Bars
A festive favorite for the holiday season
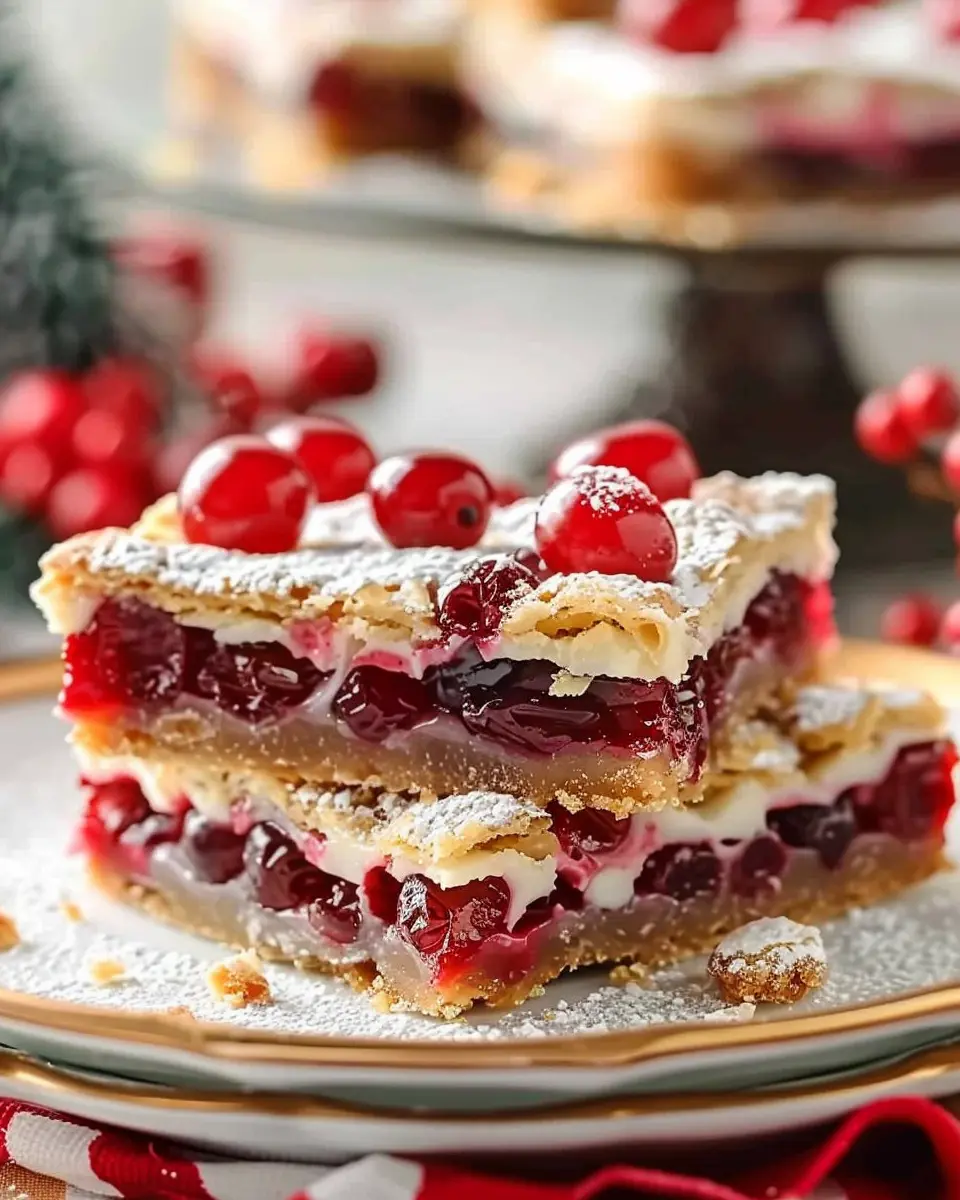
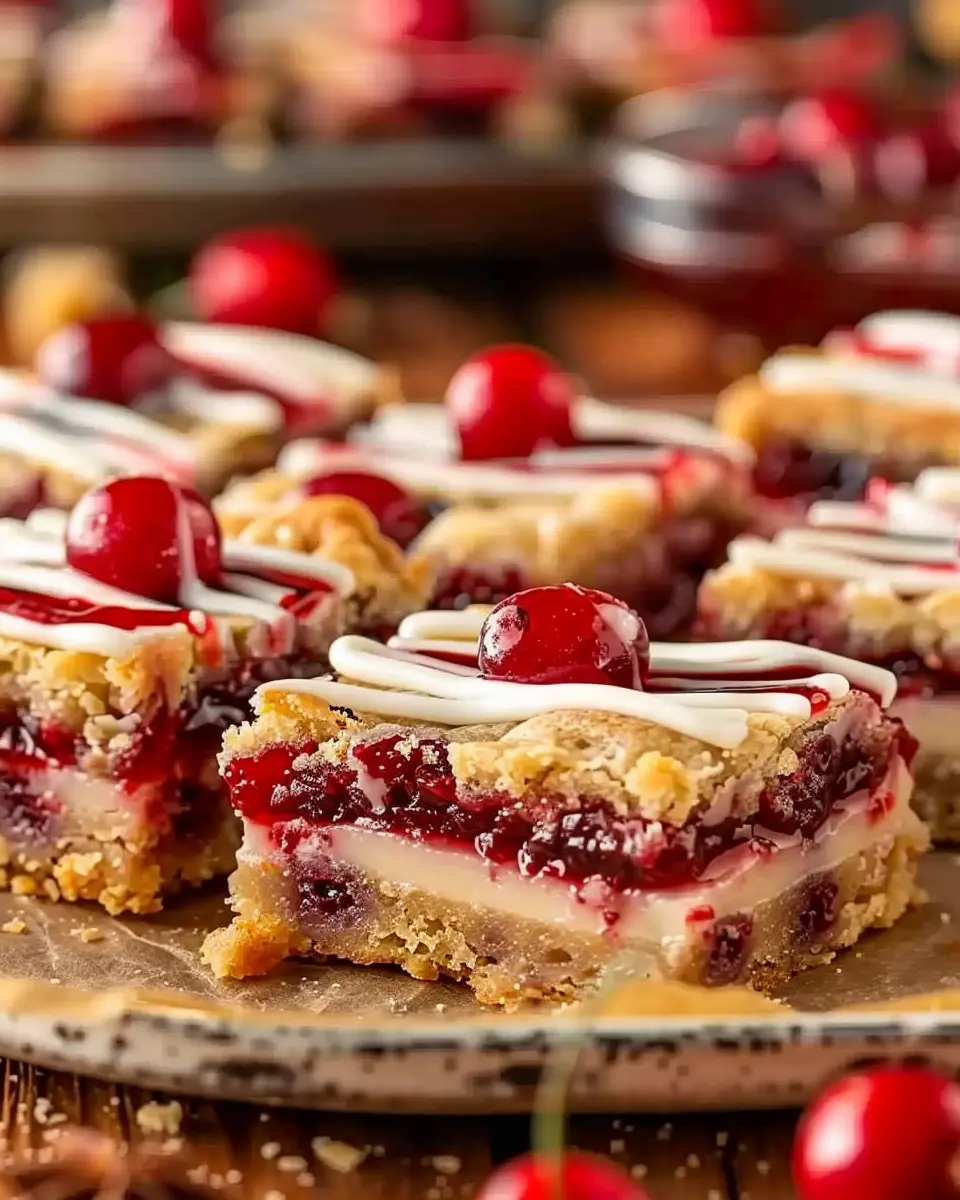
As the holiday season approaches, the aroma of freshly baked goods fills the air, and there’s one treat that effortlessly captures the essence of Christmas: Christmas Cherry Bars. These delightful bars combine the sweet-tart flavor of cherries with a buttery, crumbly crust, making them a must-have addition to your holiday baking repertoire.
What makes Christmas Cherry Bars so special? For one, they are incredibly versatile. Whether you’re hosting a holiday party, visiting friends, or simply indulging at home, these bars are perfect for sharing. You can even customize the recipe to suit your taste buds. Use fresh cherries when they’re in season, or opt for canned cherry pie filling for a quicker option. The result is always an irresistible treat that will leave everyone asking for seconds.
One of the best parts about creating these bars is how easy they are to prepare. With just a few ingredients like flour, sugar, and cherries, you can whip up a batch in no time. Plus, they store well—perfect for those busy evenings when you still want something sweet on hand. And let’s not forget about their aesthetic appeal! The vibrant red cherries nestled in a golden crust make for a stunning centerpiece on any dessert table.
Did you know that baking together can create lasting memories? According to a study from the American Psychological Association, cooking together can help strengthen bonds within families and friends. So why not take this opportunity to invite loved ones into your kitchen to create holiday magic? Loop them into the delightful experience of making Christmas Cherry Bars, and see how these moments turn into treasured traditions.
As you gather your ingredients, think about pairing these delicious bars with a warm cup of hot cocoa or an herbal tea like chai. The contrast of flavors will elevate your holiday experience and make every bite more enjoyable.
Ready to dive into the recipe? Let’s get started on creating your own Christmas Cherry Bars and spread some festive cheer this holiday season!
Ingredients for Christmas Cherry Bars
When it comes to baking, having the right ingredients is essential, especially for something as festive as Christmas Cherry Bars. Whether you’re prepping for a family gathering or simply indulging in some holiday spirit, these vibrant treats are sure to impress. Here’s what you’ll need:
- 1 cup all-purpose flour: The foundation of your bars, providing that perfect chewy texture.
- 1 cup granulated sugar: Sweetness is key! This will balance the tartness of the cherries beautifully.
- ½ cup unsalted butter, softened: This adds richness and moisture to the bars.
- 2 large eggs: Binding agent and moisture giver — essential for those perfect bars!
- 1 teaspoon almond extract: A delightful addition to enhance the cherry flavor.
- 1 cup sweetened dried cherries: For that festive color and a burst of flavor in every bite.
- ½ teaspoon baking powder: To give your bars a light, fluffy texture.
If you’re curious about Christmas Cherry Bars variations (like adding nuts or different fruits), check out the American Cherry Growers for helpful insights and recipe tips. Enjoy your baking adventure!
Preparing Christmas Cherry Bars
Getting ready to whip up some delicious Christmas Cherry Bars? You’re in for a treat! These sweet, gooey delights are perfect for holiday gatherings or a cozy night at home. Let’s walk through the steps to make these irresistible bars that are sure to impress friends and family.
Gather and Prepare Your Ingredients
Before you dive into the fun of baking, it’s essential to gather all the ingredients you need:
-
For the Shortbread Base:
-
1 cup unsalted butter, softened
-
1/2 cup granulated sugar
-
2 cups all-purpose flour
-
1/4 teaspoon salt
-
For the Cherry and White Chocolate Filling:
-
1 cup cherry pie filling (or fresh cherries if you’re feeling adventurous)
-
1/2 cup white chocolate chips (semisweet works great too)
-
For the Crumble Topping:
-
1/2 cup all-purpose flour
-
1/4 cup brown sugar, packed
-
1/4 cup unsalted butter, softened
-
1/2 teaspoon almond extract (optional, but it adds a lovely flavor)
Make sure to preheat your oven to 350°F (175°C) so it’s ready for your Christmas Cherry Bars once they’re assembled!
Make the Buttery Shortbread Base
Start by making the heavenly shortbread base. This step is crucial as it holds everything together. In a mixing bowl, cream together the softened butter and granulated sugar until smooth. You’ll notice the mixture lightens in color, and that’s exactly what we want!
Next, gradually add in the flour and salt. Mix until everything is well combined and forms a soft dough. Press this mixture evenly into a greased 9×9-inch baking pan, making sure to pack it down firmly. The shortbread base should be slightly thicker around the edges to help contain that delicious filling.
Add the Cherry and White Chocolate Mixture
Now for the fun part! Pour your cherry pie filling over the shortbread base, spreading it evenly across the surface. If you’re using fresh cherries, slice them and scatter them to cover the base beautifully. On top of that, sprinkle the white chocolate chips—this will create a wonderful, gooey texture that pairs perfectly with the tartness of the cherries.
If you’re looking for more baking inspiration, check out this resource from BakeWorld that delves into various cherry desserts!
Create the Crumble Topping
Ready to finish this off? Let’s make the crumble topping! In another bowl, combine the flour and brown sugar, then cut in the softened butter until crumbly. If you choose to add almond extract, mix it in here for an extra burst of flavor. This topping will bake up golden and add a delightful crunch to your Christmas Cherry Bars.
Once you’ve prepared the crumble, sprinkle it generously over the cherry and chocolate layer.
Bake to Perfection
It’s time for the oven! Place your pan in the preheated oven and bake for about 30-35 minutes, or until the crumble is golden brown and the filling is bubbly. Keep an eye on it during the last few minutes—oven temperatures can vary, and you want to catch them at just the right moment.
Once baked, allow the bars to cool completely in the pan before slicing into squares. Trust me, letting them cool will help them hold their shape better, though the aroma wafting through your kitchen might tempt you to dig in right away!
There you have it! With these Christmas Cherry Bars, you’ve got a festive dessert that’s sure to be a hit. Let the holiday spirit fill your kitchen as you bake up a batch and share the joy with your loved ones!
Variations on Christmas Cherry Bars
When it comes to Christmas Cherry Bars, the traditional recipe is just the beginning! Consider adding a creative twist to make them even more delightful. Here are two delicious variations that are sure to impress your friends and family.
Cherry Almond Twist
If you love the classic combination of cherry and almond, this variation is a must-try. Simply substitute a portion of the vanilla extract with almond extract in your concoction. This small change completely transforms the flavor, giving your bars a rich, nutty undertone. Here’s what to do:
- Use 1 teaspoon of almond extract in place of 1 teaspoon of vanilla extract.
- For extra flair, sprinkle slivered almonds on top before baking.
- Drizzle with a light almond glaze after cooling: mix powdered sugar with a touch of almond extract and milk until smooth.
This version not only tastes phenomenal but also looks visually appealing, making them perfect for holiday parties!
Chocolate Cherry Delight
For chocolate lovers, nothing beats the combination of cherries and chocolate. To create this indulgent variation, incorporate cocoa powder into your base. Here’s how to make it happen:
- Replace 1/4 cup of flour with 1/4 cup of unsweetened cocoa powder.
- Fold in chocolate chips along with the cherries for an extra chocolatey surprise.
- Top with a chocolate drizzle: melt semi-sweet chocolate and drizzle it over the cooled bars.
This decadent treat will satisfy any sweet tooth and is a fantastic option to offer at your holiday gatherings!
These variations on Christmas Cherry Bars allow you to customize your creations, making each bite feel special. Why not give these a try and elevate your holiday baking this season? For more recipes and inspiration, check out resources like Food Network or Allrecipes. Happy baking!
Baking Notes for Christmas Cherry Bars
When crafting your Christmas Cherry Bars, keep these helpful tips in mind to ensure a delightful baking experience.
Choosing the Best Ingredients
- Cherry Filling: Opt for high-quality cherry pie filling or fresh cherries if in season. The flavor makes a big difference! If you’re interested in how dessert quality is impacted by ingredients, check out this insightful guide to elevate your baking game.
- Flour Type: For a tender texture, use all-purpose flour. If you’re feeling adventurous, a blend of whole wheat can boost the nutrition while keeping the bars delicious.
Perfecting Your Technique
- Mixing: Be careful not to over-mix your batter, as this can lead to tough bars. Aim for just combined—silky and smooth.
- Baking Time: Every oven is unique. Start checking your bars a few minutes before the suggested baking time. They should be golden brown on top and a toothpick should come out clean from the center.
Storing as a Sweet Tradition
Want your Christmas Cherry Bars to last through the holiday season? Allow them to cool completely before wrapping them tightly with plastic wrap. Store them in an airtight container at room temperature for up to five days or in the fridge for a week—if they last that long!
By following these easy tips, you’re well on your way to making irresistible Christmas Cherry Bars that will impress friends and family alike. Happy baking!
Serving suggestions for Christmas Cherry Bars
Perfect pairings for holiday gatherings
When it comes to serving Christmas Cherry Bars, the right accompaniments can elevate your holiday spread. These bars are not just a dessert; they can be the star of your festive gathering. Try pairing these sweet treats with:
- Hot cocoa or spiced apple cider: The warmth of these beverages beautifully complements the tartness of the cherries.
- A fresh fruit platter: Crisp apples, oranges, and pears can provide a refreshing contrast to the richness of the bars.
- Turkey bacon or chicken ham bites: Their savory nature balances the sweetness of the cherry filling, making for an interesting flavor combination.
Creative serving ideas
Looking for a unique way to showcase your Christmas Cherry Bars? Here are some fun serving suggestions:
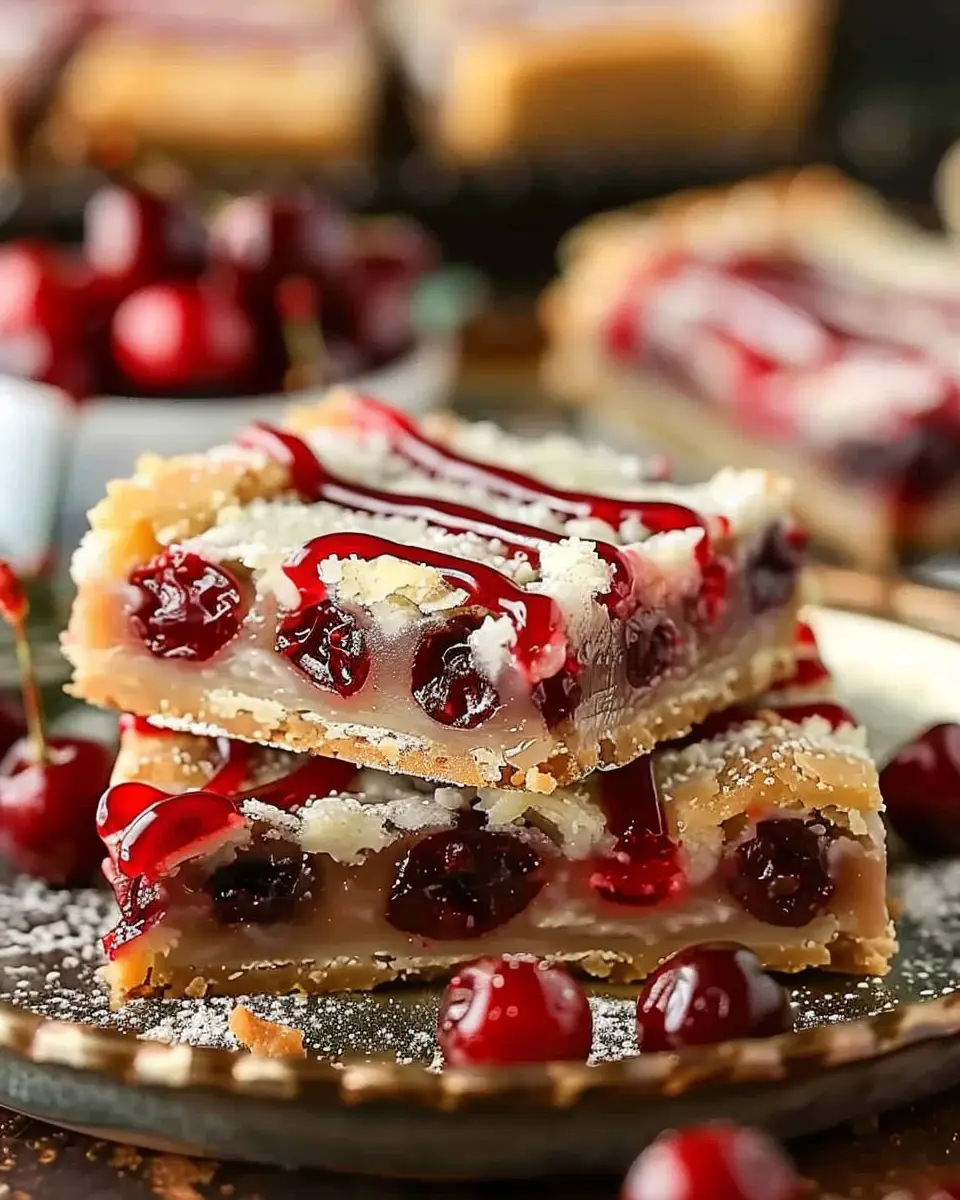
- Mini bar stacks: Cut the bars into bite-sized pieces and stack them on a decorative platter for an eye-catching presentation.
- Individual servings: Place small squares in festive cupcake liners or jars for a grab-and-go option at holiday parties.
- Ice cream topping: Warm the bars slightly and serve them a la mode with vanilla or caramel ice cream.
For more inspiration on festive pairings, check out this helpful guide on creating balanced holiday menus.
You’ll find these Christmas Cherry Bars can truly shine when paired with the right flavors and served creatively! Happy baking!
Tips for making perfect Christmas Cherry Bars
The importance of chilled butter
Using cold butter is a game-changer for your Christmas Cherry Bars. When butter is firm, it creates a flakier crust, providing that delightful texture everyone loves. For the best results, take your butter out of the fridge just before you begin. You want it to be cold but still manageable for mixing. Incorporating the butter quickly helps to keep the temperature down while you blend it into your dry ingredients, ensuring a perfectly tender base for your cherry filling.
Cooling tips for clean cuts
If you want to serve your Christmas Cherry Bars with a picture-perfect slice, cooling is key! After baking, let your bars cool in the pan for about 20 minutes before transferring them to a wire rack. This will keep the bottom from becoming soggy. To cut them neatly, ensure they’re completely cooled—ideally, refrigerate them for an hour. Chilled bars will hold their shape much better when sliced, making it easier to showcase their beautiful layers.
Consider using a hot, dry knife for cutting: the warmth helps glide through without smooshing the cherries. For more tips on bar cookies, you can check out Baking Illustrated. Happy baking!
Time details for Christmas Cherry Bars
When you’re planning to whip up some delightful Christmas Cherry Bars for the festive season, knowing how long everything takes can really help you organize your baking. Here’s a quick breakdown:
Preparation time
Getting everything ready for your delicious Christmas Cherry Bars takes approximately 20 minutes. This includes gathering your ingredients and preparing the cherry filling.
Baking time
Once your bars are prepped and everything is in the baking dish, they will need about 30 to 35 minutes in the oven. You’ll know they’re ready when the edges are golden brown.
Total time
In total, you should set aside about an hour for these festive treats. Whether you’re baking alone or hosting friends, this will be a rewarding time investment to create a holiday favorite.
For more cooking tips or ingredient recommendations, check out resources like Food Network or Serious Eats. Happy baking!
Nutritional information for Christmas Cherry Bars
When indulging in delicious Christmas Cherry Bars, it’s helpful to keep an eye on the nutritional content. Here’s a quick breakdown to help you enjoy them guilt-free during the festive season.
Calories
A typical serving of Christmas Cherry Bars contains approximately 160 calories. This can vary depending on the sizes you cut, but knowing this can help you balance your holiday treats with healthy meals.
Sugars
Each bar generally has about 8 grams of sugar. While they satisfy your sweet tooth, keep in mind that moderation is key, especially if you’re monitoring your sugar intake.
Carbohydrates
These tasty bars pack about 22 grams of carbohydrates per serving. They are a great source of energy, perfect for keeping you fueled during all your holiday activities.
For more detailed nutritional insights, check out Healthline’s guide on holiday treats. Enjoy your baking, and don’t forget to share the joy of these Christmas Cherry Bars!
FAQs about Christmas Cherry Bars
Can I use fresh cherries instead of dried?
Absolutely! While the recipe traditionally calls for dried cherries for their concentrated flavor and chewiness, using fresh cherries can add a delightful twist. Just make sure to pit and chop them into small pieces to ensure even distribution throughout the Christmas Cherry Bars. Fresh cherries may release more moisture, so you might need to adjust your baking time slightly. Embrace the freshness for a seasonal treat!
How can I store leftover Christmas Cherry Bars?
Storing your leftover Christmas Cherry Bars is simple. Allow them to cool completely before cutting and storing. Place them in an airtight container at room temperature for up to three days. If you want to keep them fresher for longer, consider refrigerating them where they can last about a week. For extended storage, you can freeze the bars! Wrap them individually in plastic wrap, then place them in a freezer-safe bag for up to three months. Just remember to thaw completely before enjoying again!
What other ingredients can I add?
The beauty of Christmas Cherry Bars lies in their versatility! Here are a few delightful additions you might consider:
- Nuts: Chopped pecans or walnuts add a crunchy texture and rich flavor.
- Chocolate: Dark or white chocolate chips can elevate the sweetness beautifully.
- Spices: A sprinkle of cinnamon or nutmeg can provide a festive flair.
- Zest: Add a bit of orange or lemon zest for a refreshing citrus note.
Feel free to mix and match according to your preferences! Check out sources like Serious Eats for more ideas on ingredients that can take your baking to the next level!
Whether enjoyed at a festive gathering or relished alone, these bars are bound to become a holiday favorite!
Conclusion on Christmas Cherry Bars
As we wrap up our journey into the joy of making Christmas Cherry Bars, it’s clear that these treats are more than just a dessert; they’re a delightful addition to your holiday celebrations. The sweet and tart cherry flavor dances perfectly with the buttery crust, making every bite a festive pleasure.
Consider making a double batch to share with friends and family; they might just become your new favorite holiday recipe! Don’t forget to check out our tips on storage and variations for even more festive fun.
Ready to impress with your baking skills? Grab your ingredients and start spreading some holiday cheer!
For more baking inspiration, you can visit The Kitchn or Sally’s Baking Addiction. Happy baking!
PrintChristmas Cherry Bars: Easy Indulgence for Festive Gatherings
Delight your guests this holiday season with these easy-to-make Christmas Cherry Bars. A perfect blend of sweet cherry flavor and buttery crust, these bars are sure to be a hit at any festive gathering.
- Prep Time: 15 minutes
- Cook Time: 35 minutes
- Total Time: 50 minutes
- Yield: 12 bars
- Category: Dessert
- Method: Baking
- Cuisine: American
- Diet: Vegetarian
Ingredients
- 1 cup sugar
- 1 cup unsalted butter, softened
- 2 cups all-purpose flour
- 1 teaspoon baking powder
- 1/2 teaspoon salt
- 1 cup cherry pie filling
- 1 teaspoon vanilla extract
Instructions
- Preheat the oven to 350°F (175°C).
- In a large bowl, cream together the sugar and butter until smooth.
- Beat in the flour, baking powder, and salt until the mixture is well combined.
- Spread half of the batter into a greased 9×13 inch pan.
- Spread the cherry pie filling over the batter.
- Drop the remaining batter by spoonfuls over the cherry filling.
- Bake for 30-35 minutes, or until golden brown.
- Let cool before cutting into bars.
Notes
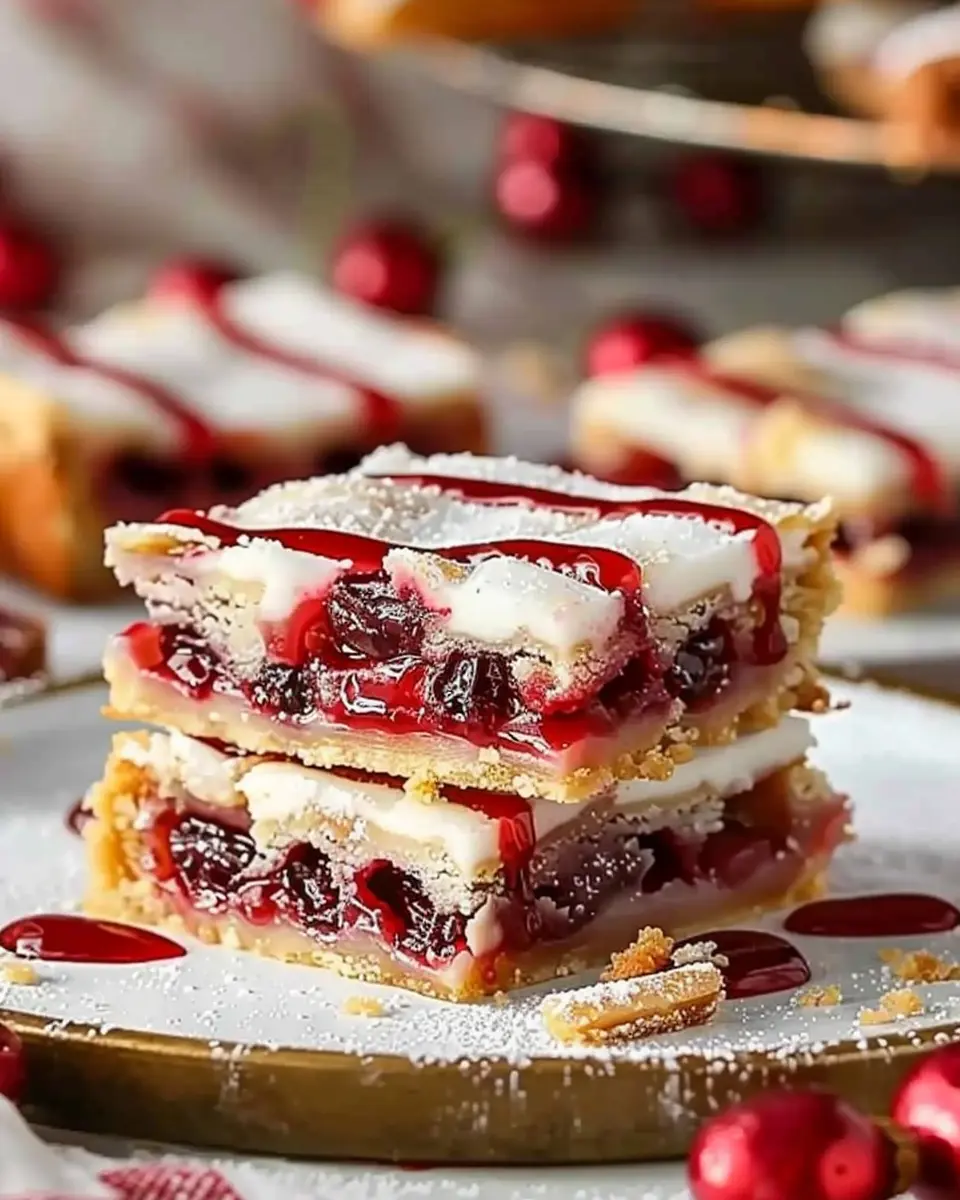
- For a festive touch, sprinkle powdered sugar on top before serving.
Nutrition
- Serving Size: 1 bar
- Calories: 250
- Sugar: 18g
- Sodium: 150mg
- Fat: 12g
- Saturated Fat: 7g
- Unsaturated Fat: 4g
- Trans Fat: 0g
- Carbohydrates: 35g
- Fiber: 1g
- Protein: 2g
- Cholesterol: 30mg